Utilities
Add users & switch workspaces
Invite new users to your workspace and seamlessly switch between different workspaces based on your needs
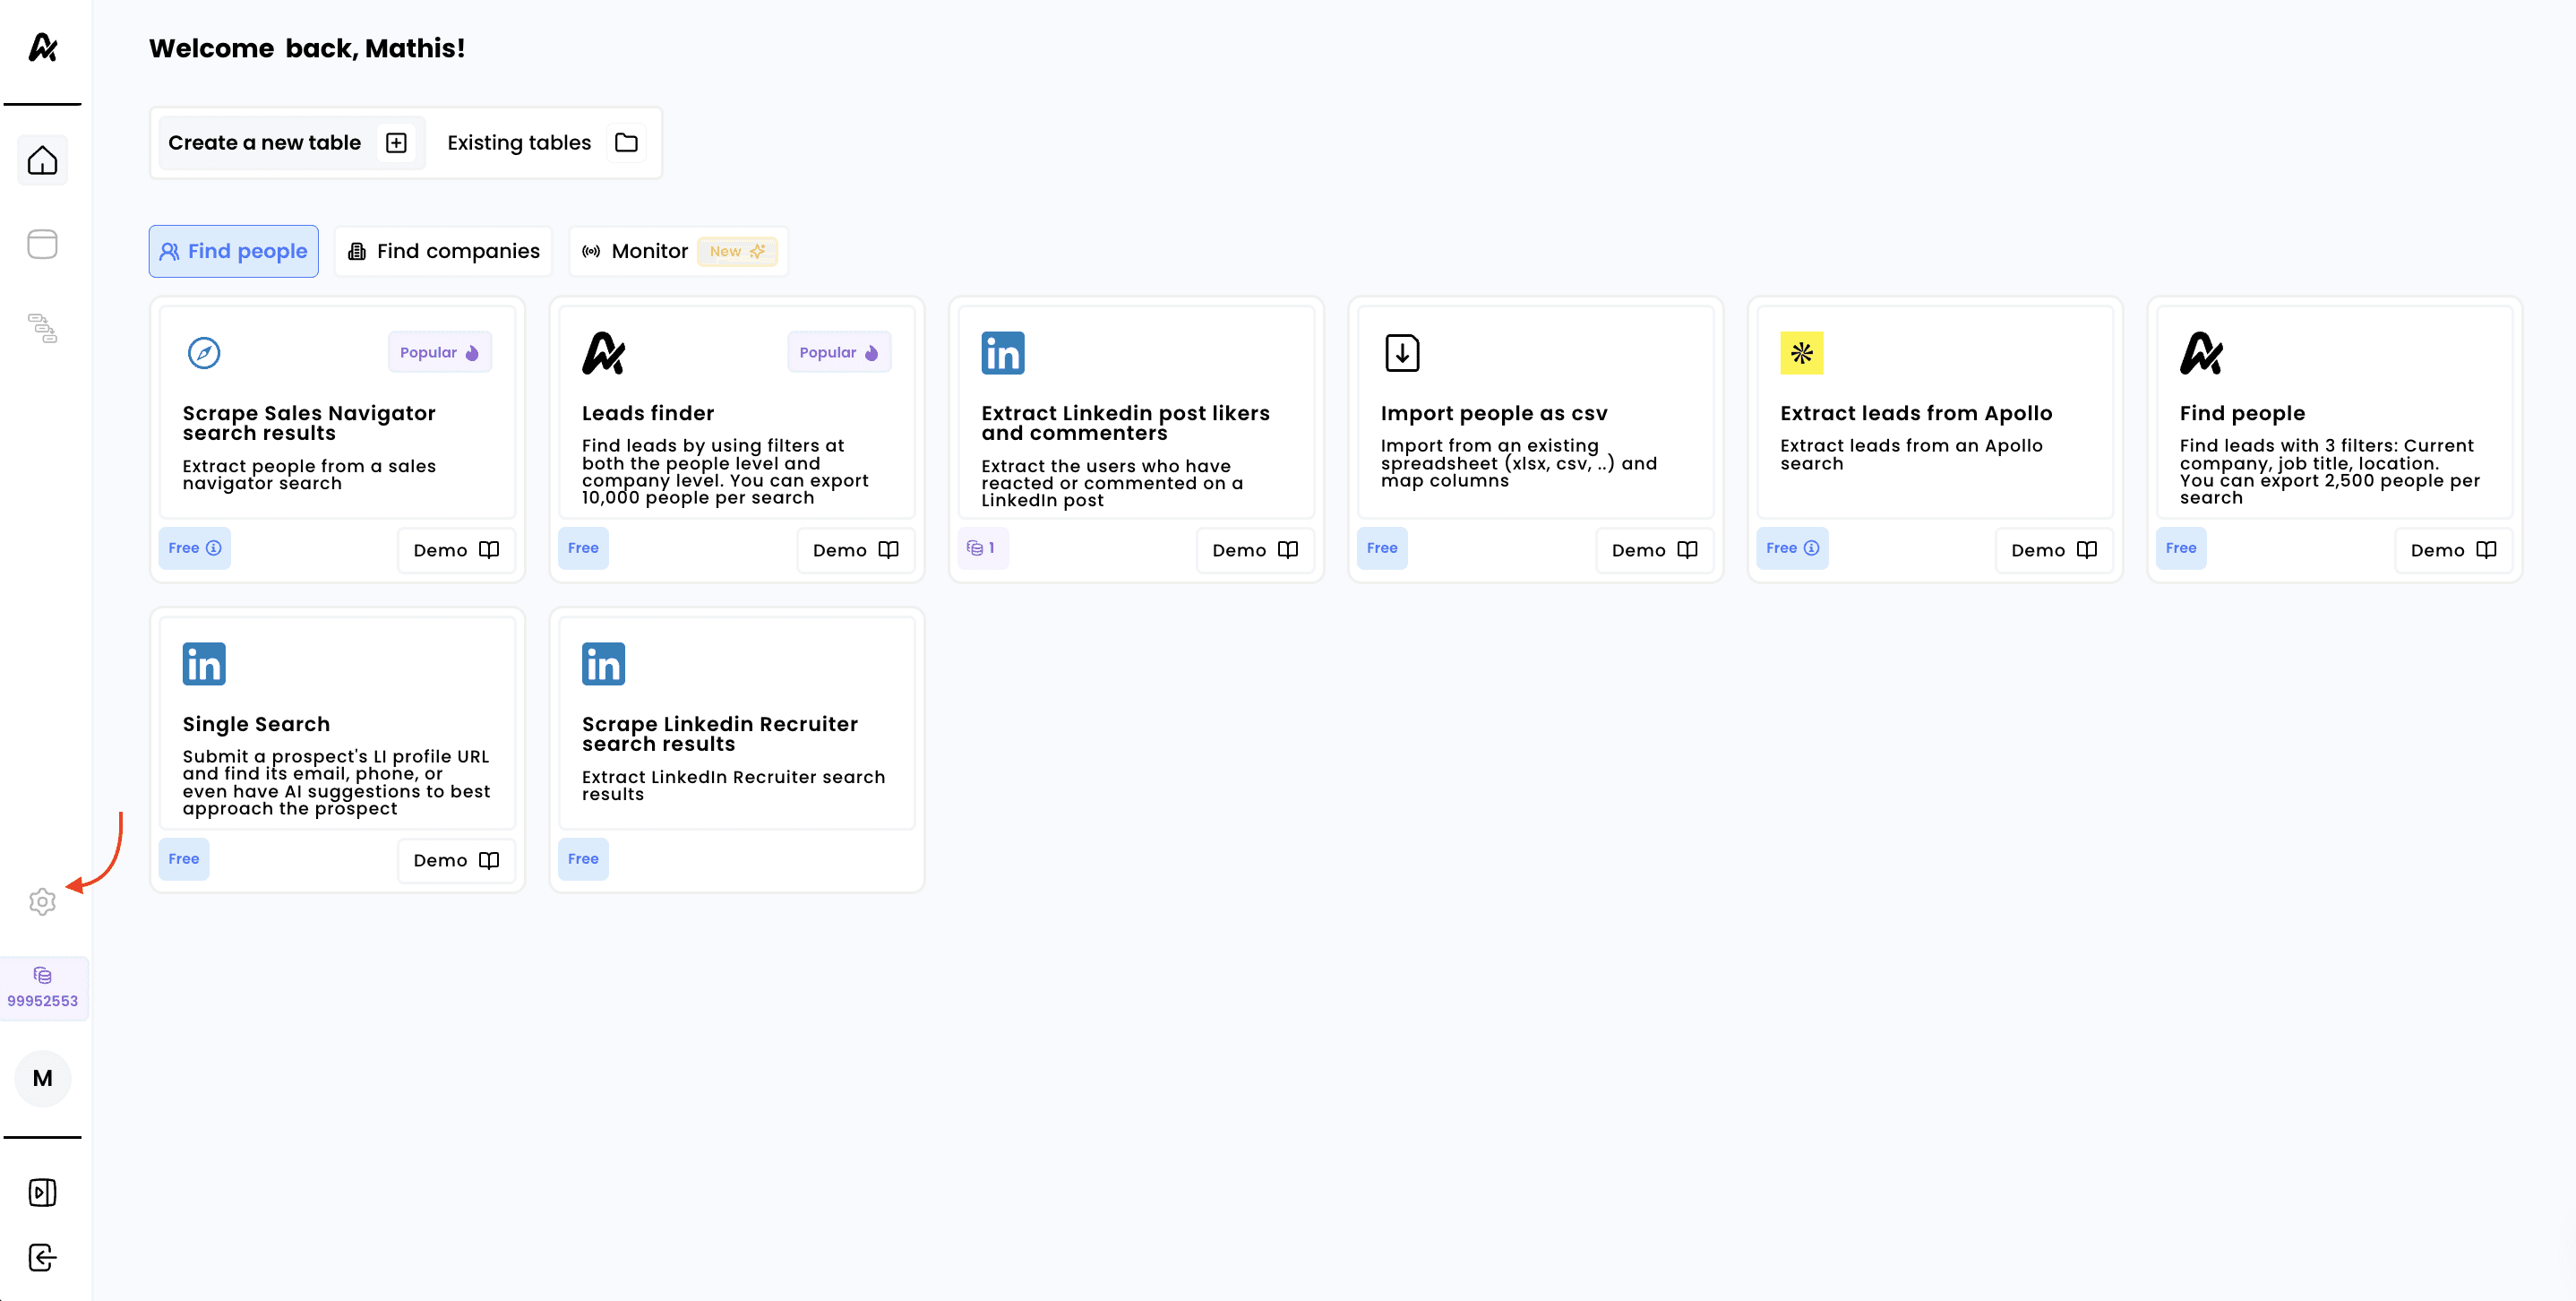
1. Click on settings
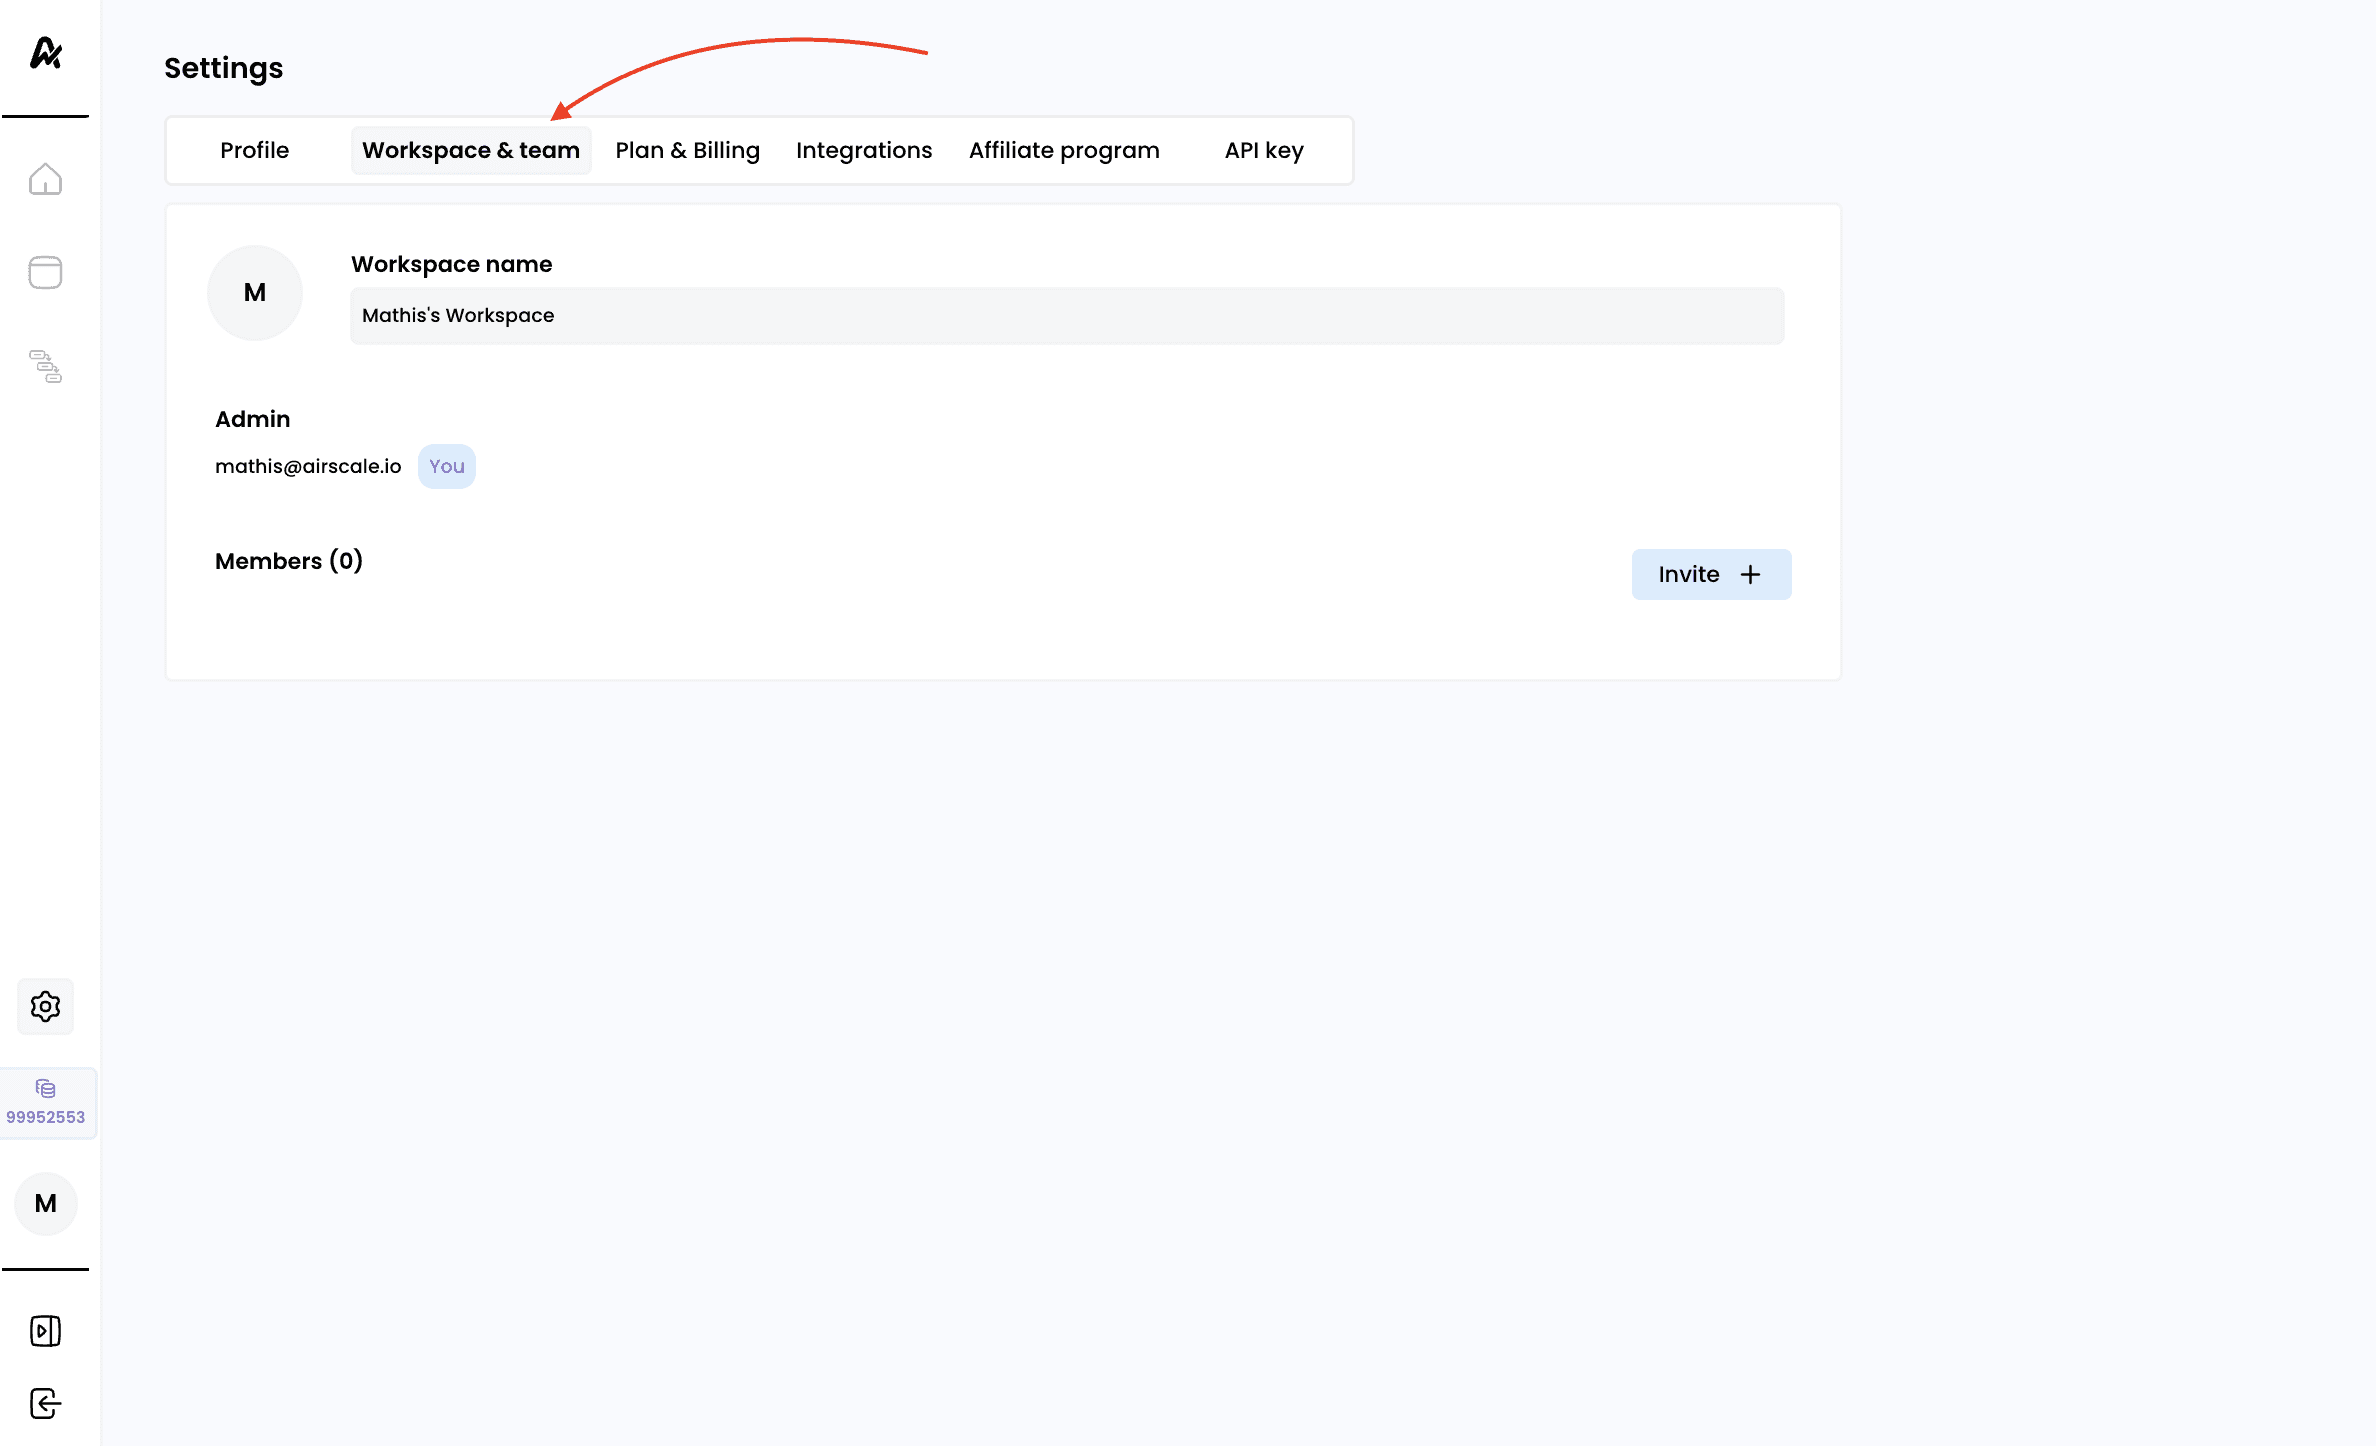
2. Click on Workspace & Team
You also have the option to change the workspace name if you wish. By default, the name will be the username of the person who created the account
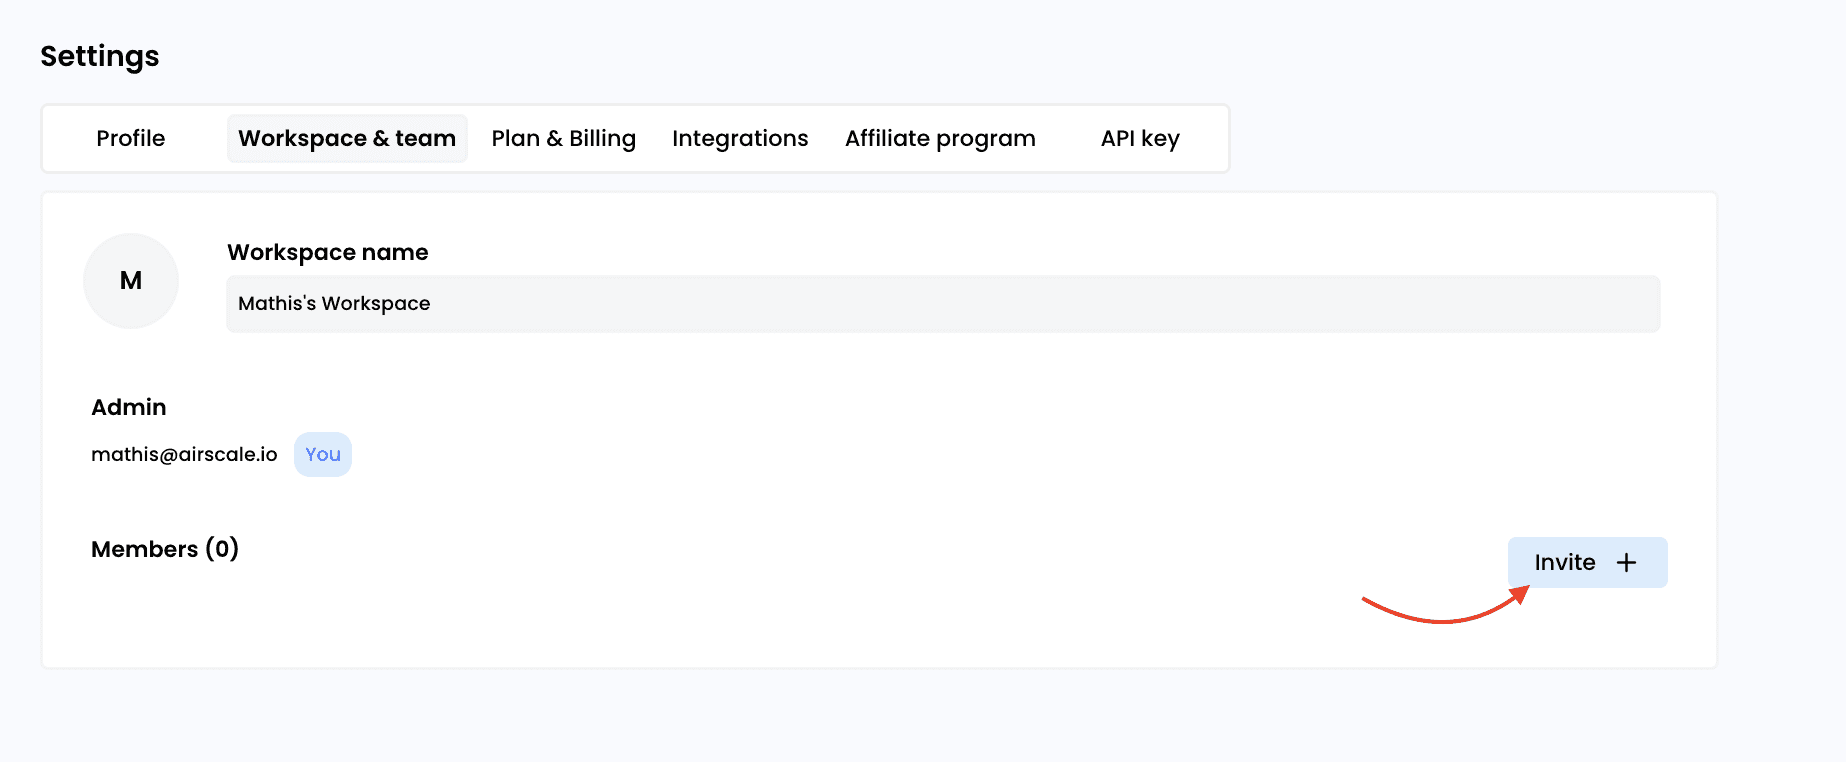
3. Click on "Invite" & "Send invitation"
You can add as many users as you like, it won’t impact the license price, as we do not charge per user (credit-based pricing model)
Only the workspace admin can invite and remove users
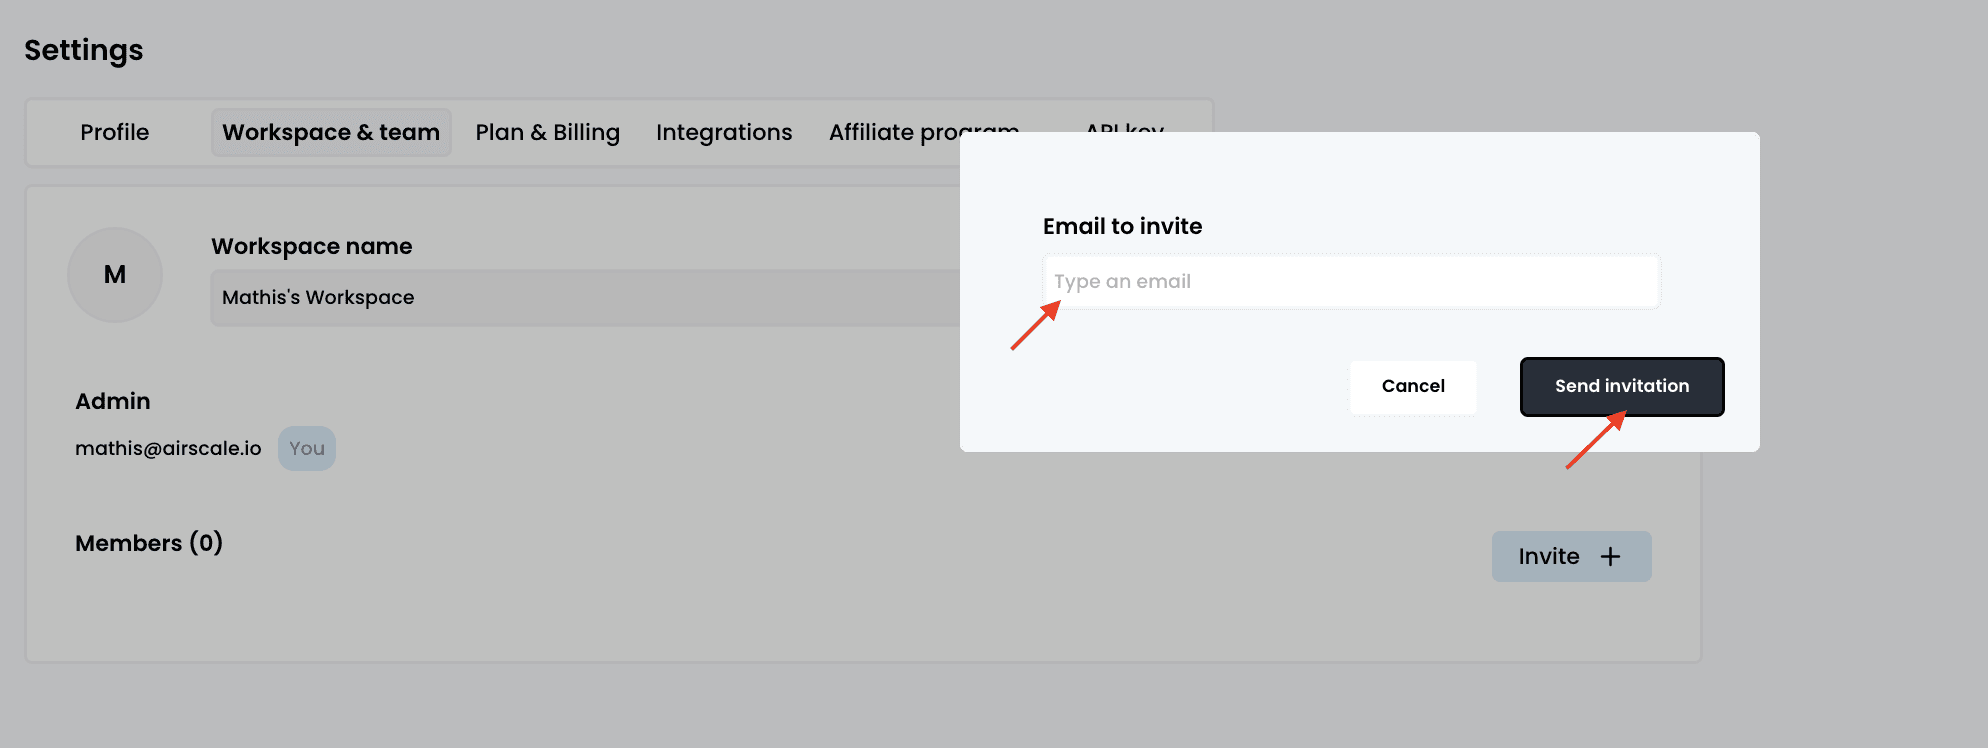
Important: each invited user will receive an email with a link to access the workspace, whether they already have an account or not
4. Switch workspaces to access credits
As soon as a user has been invited to a workspace and clicks the link received by email, they will have access to both their default workspace (created under their name) and the workspace they were invited to
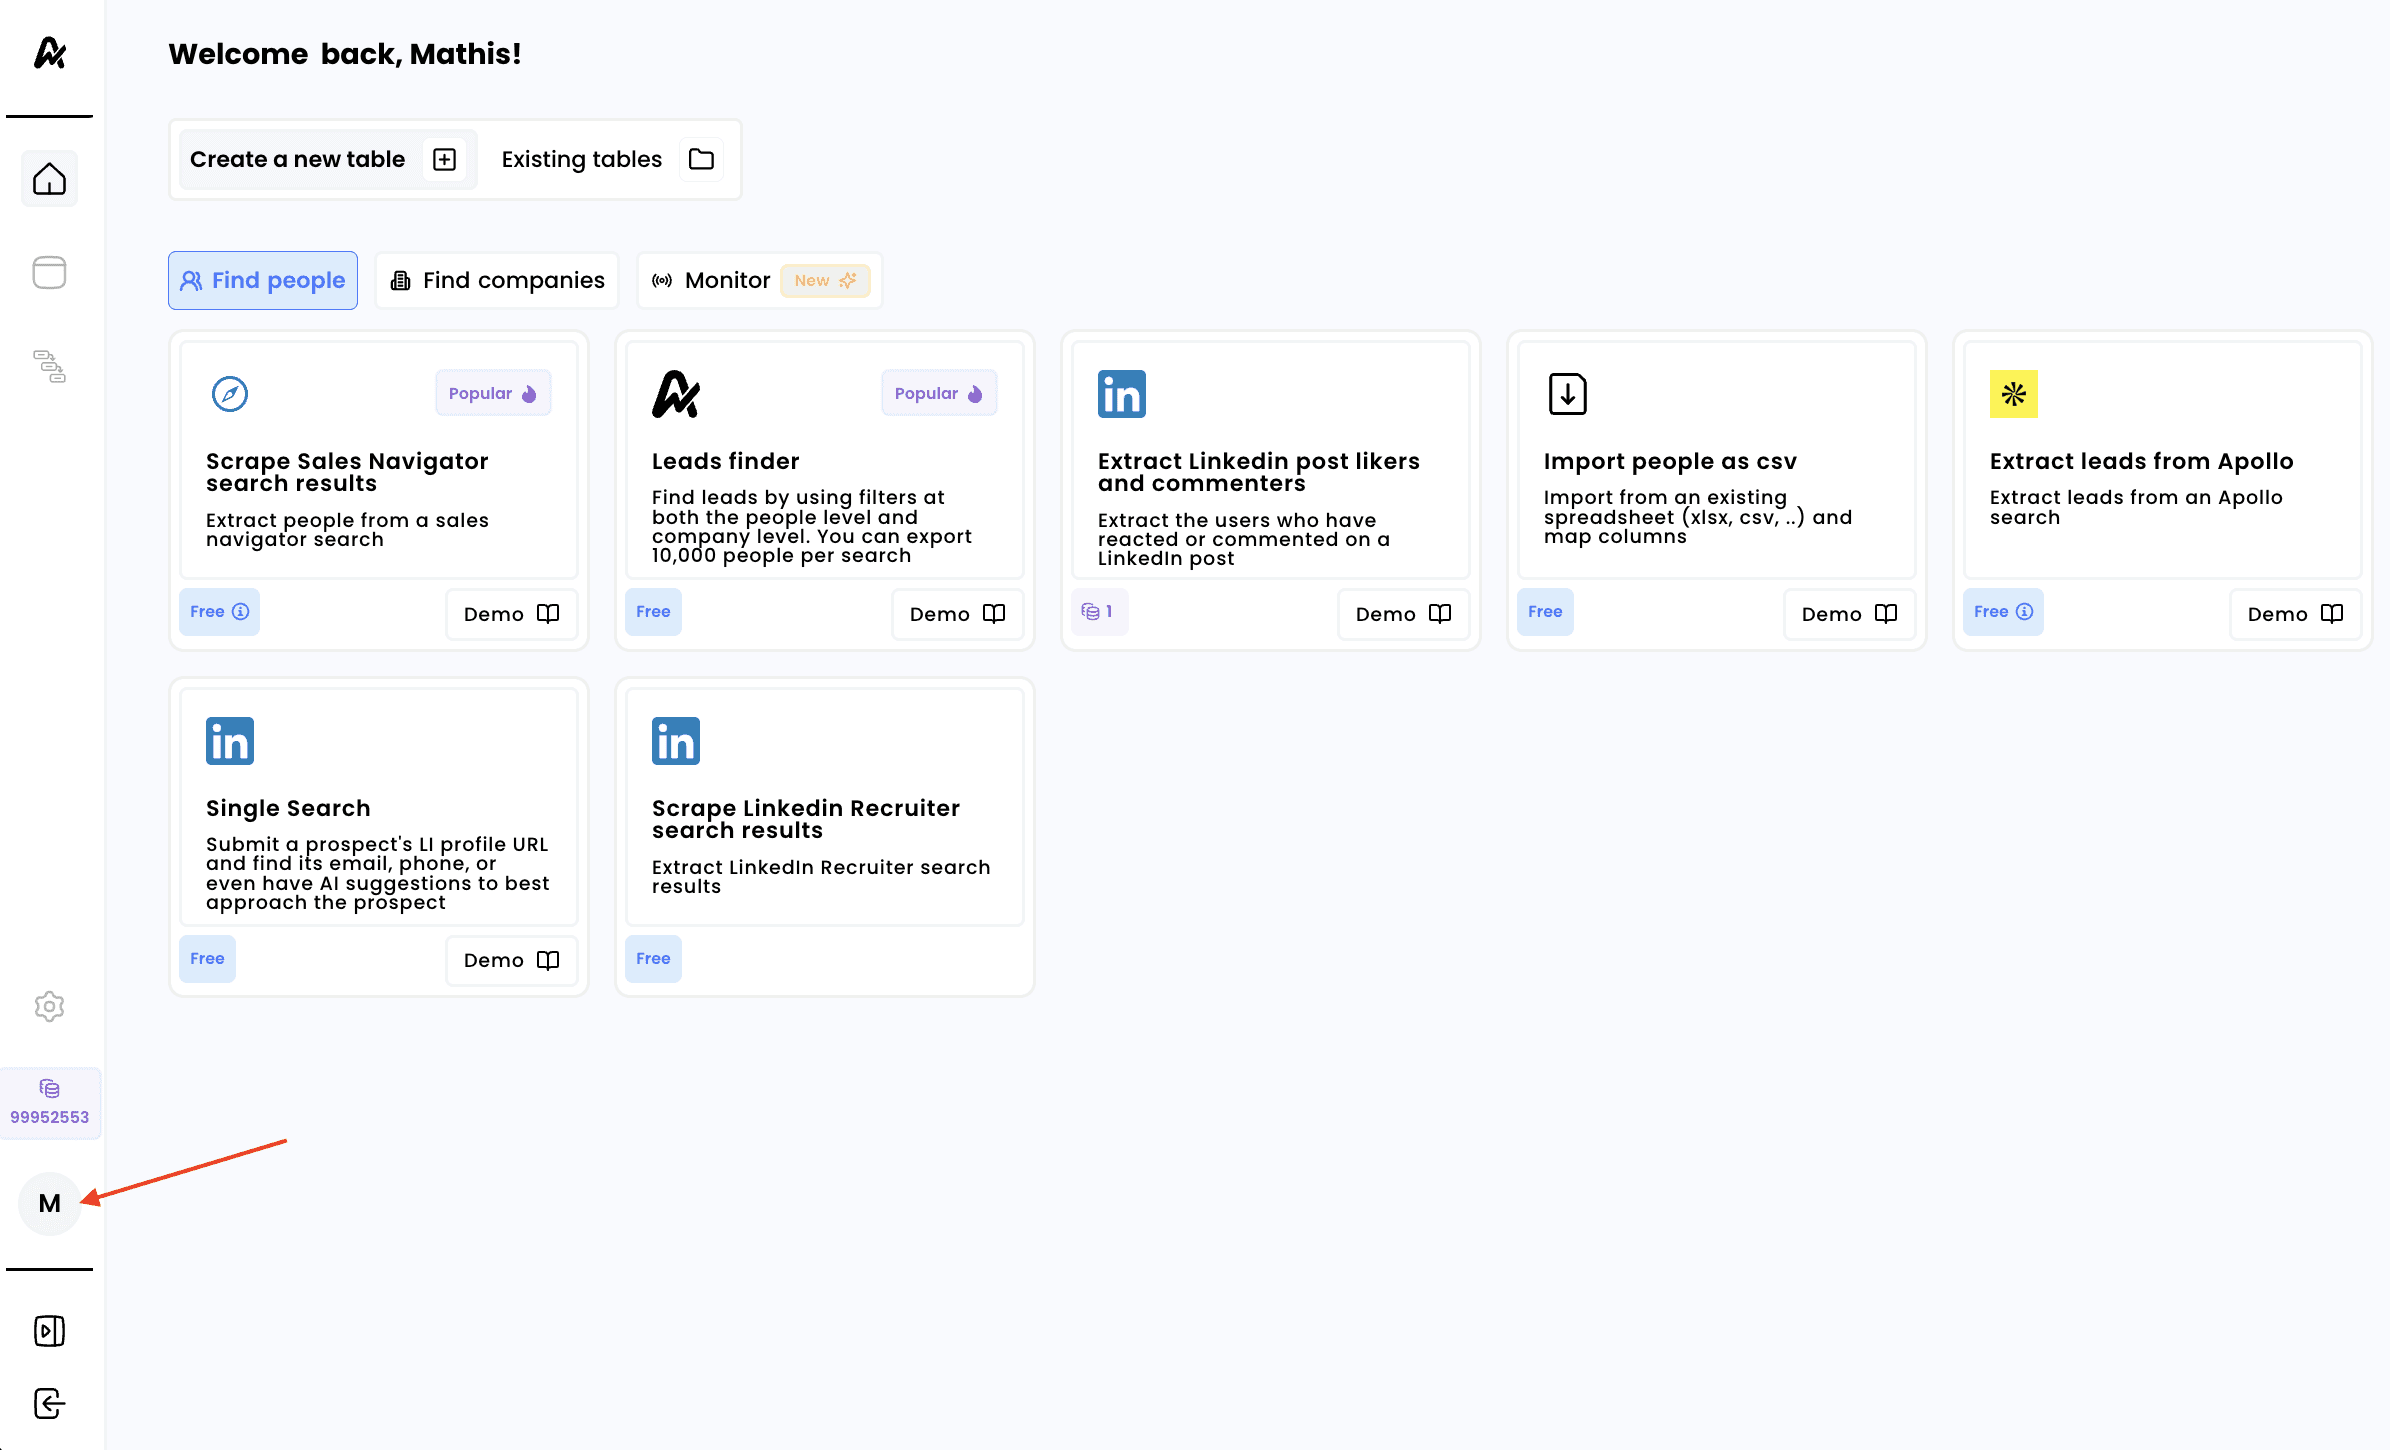
To access the tables and credits of the new workspace, click on the logo in the bottom-left corner of the platform, which displays the first initial of the user’s name:
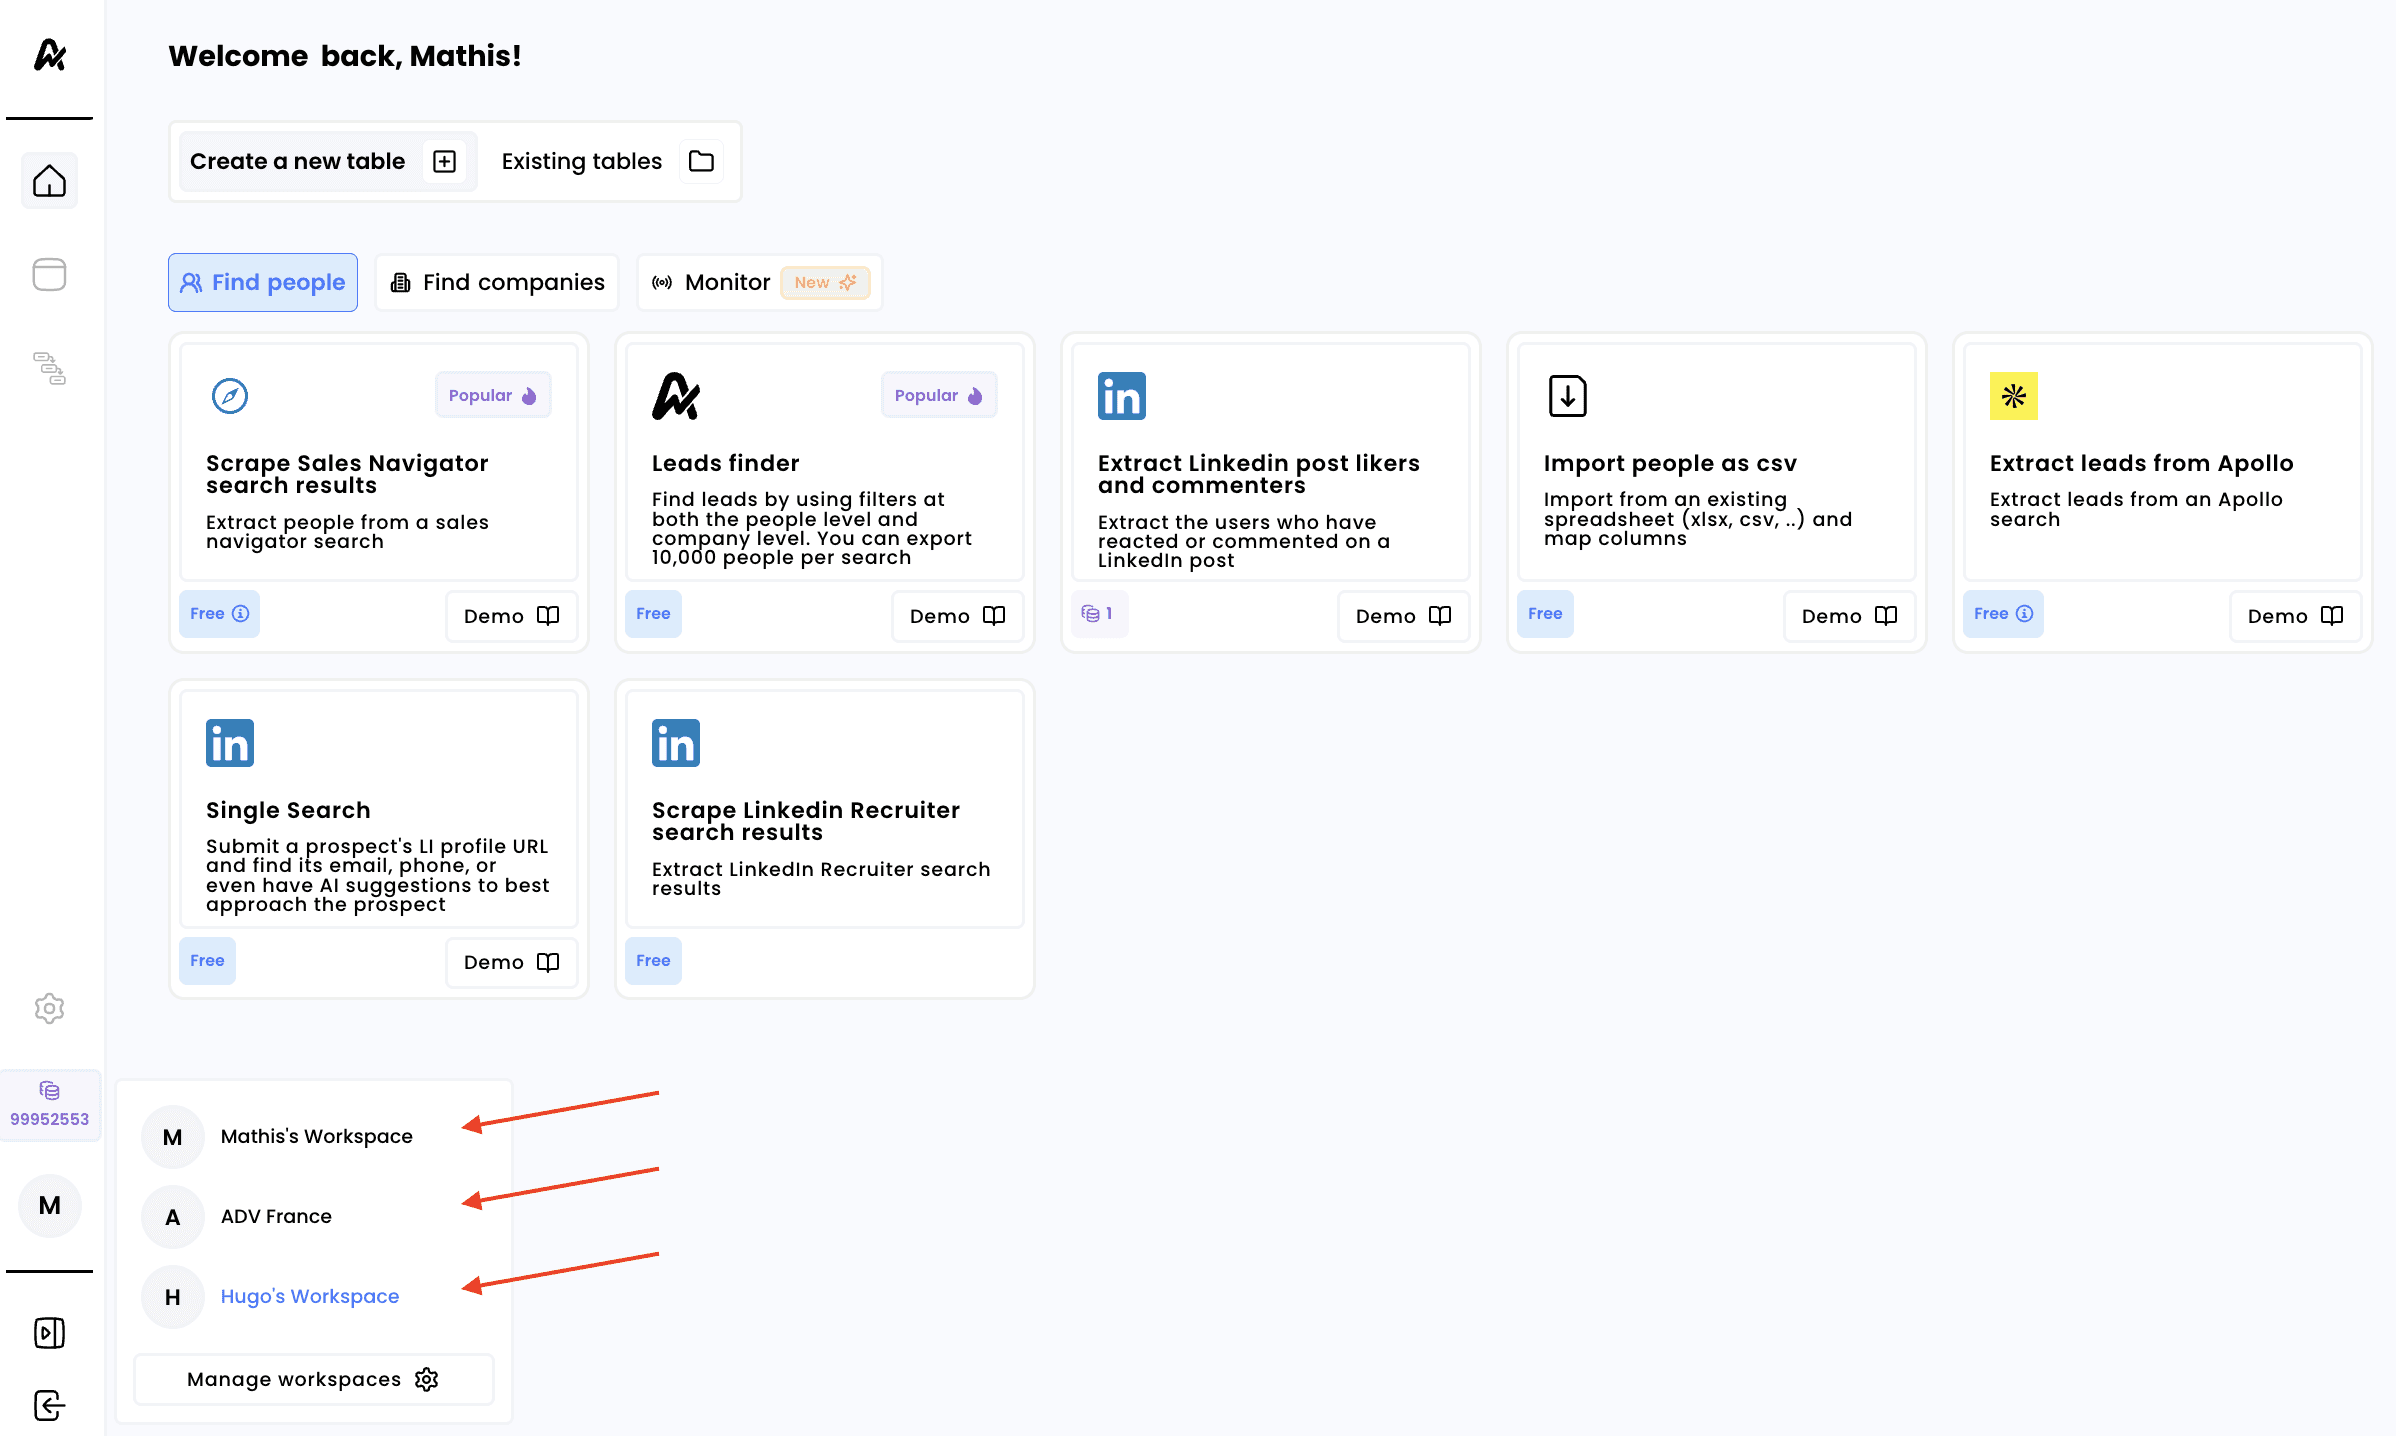
Whenever you switch workspaces, the credit balance will update to reflect the new workspace. You will also gain access to the tables created in that workspace, and any enrichments launched there will be deducted from the credit balance of the currently active workspace
Need help? Contact Support
Questions? Contact Sales